x
Final Project Brainstorming
This page documents our different ideas for the final project and here's the presentation for the ideas pitch.
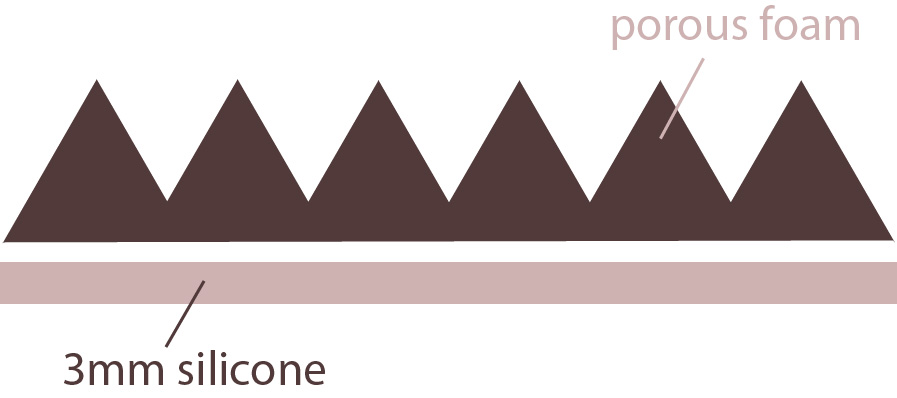
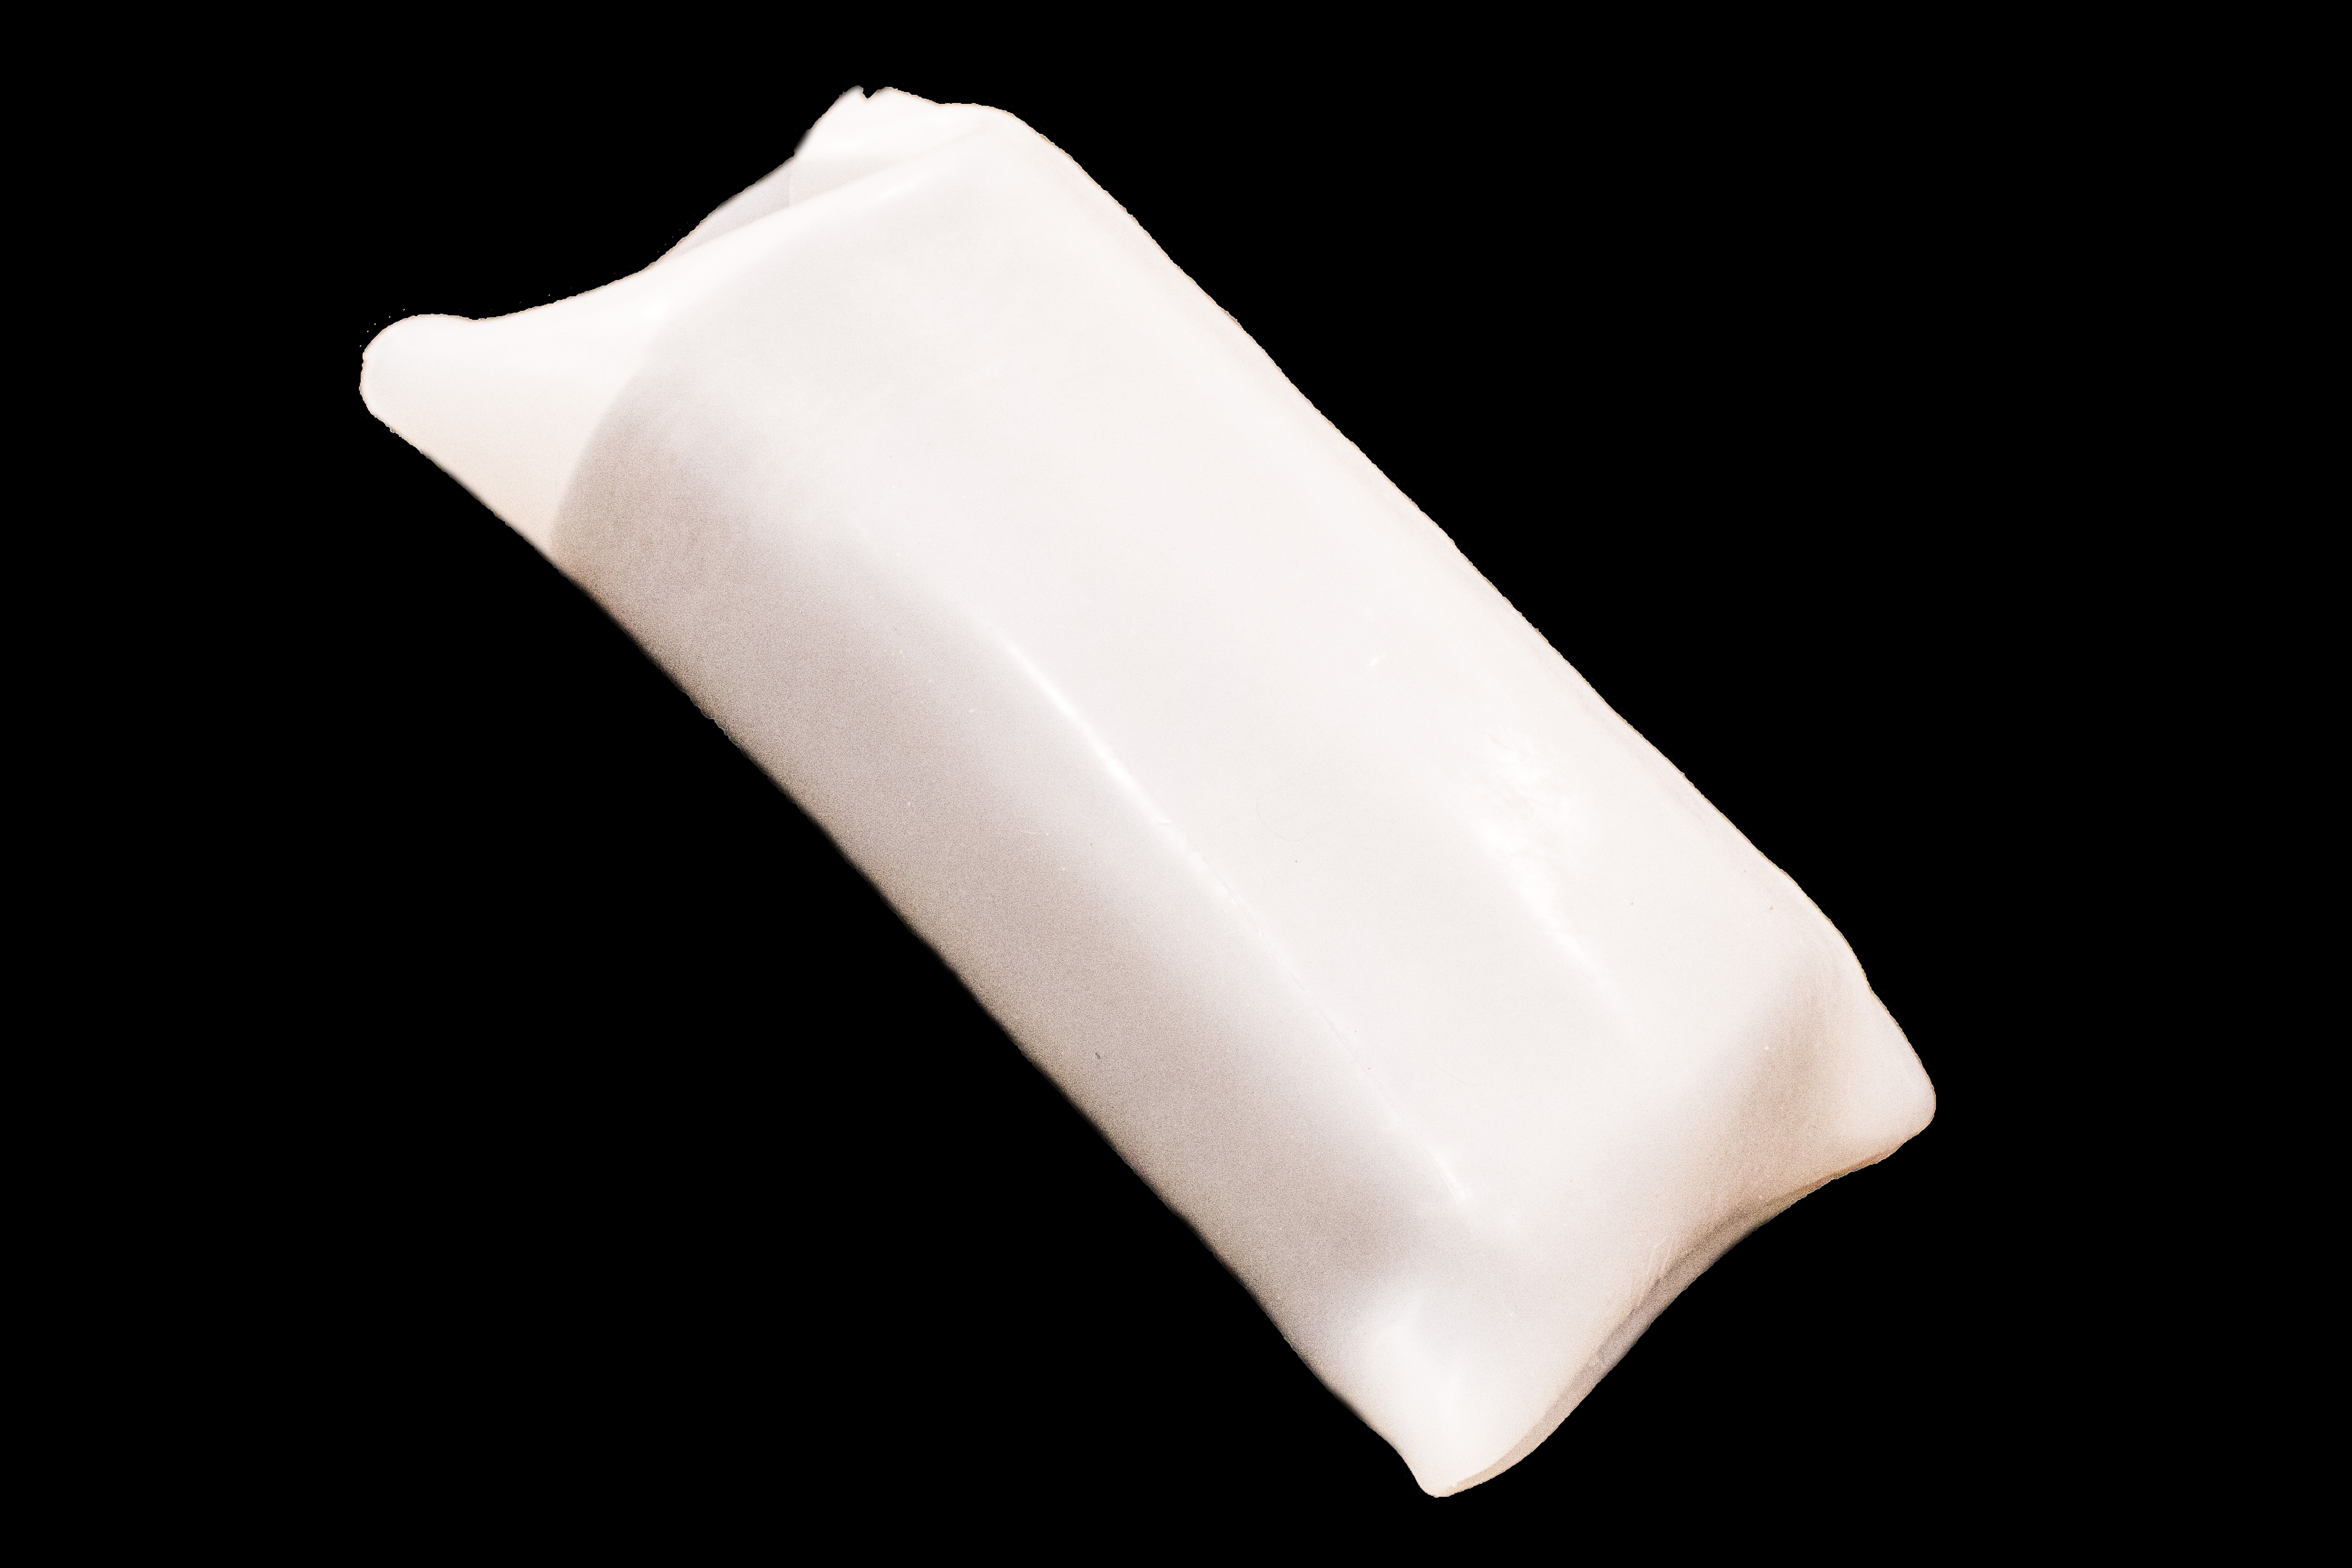
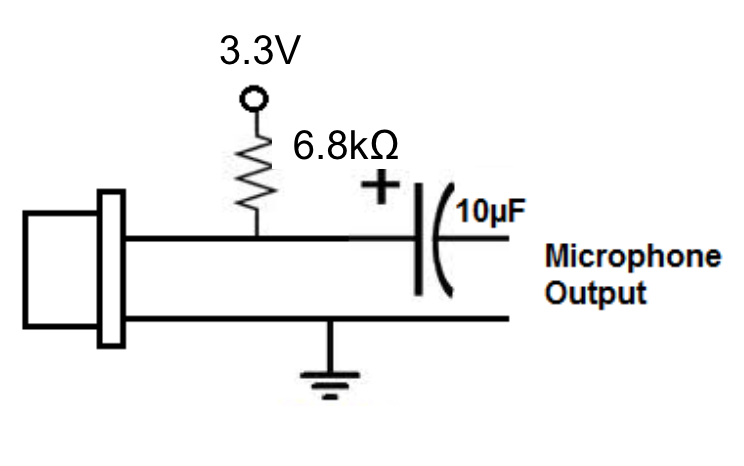
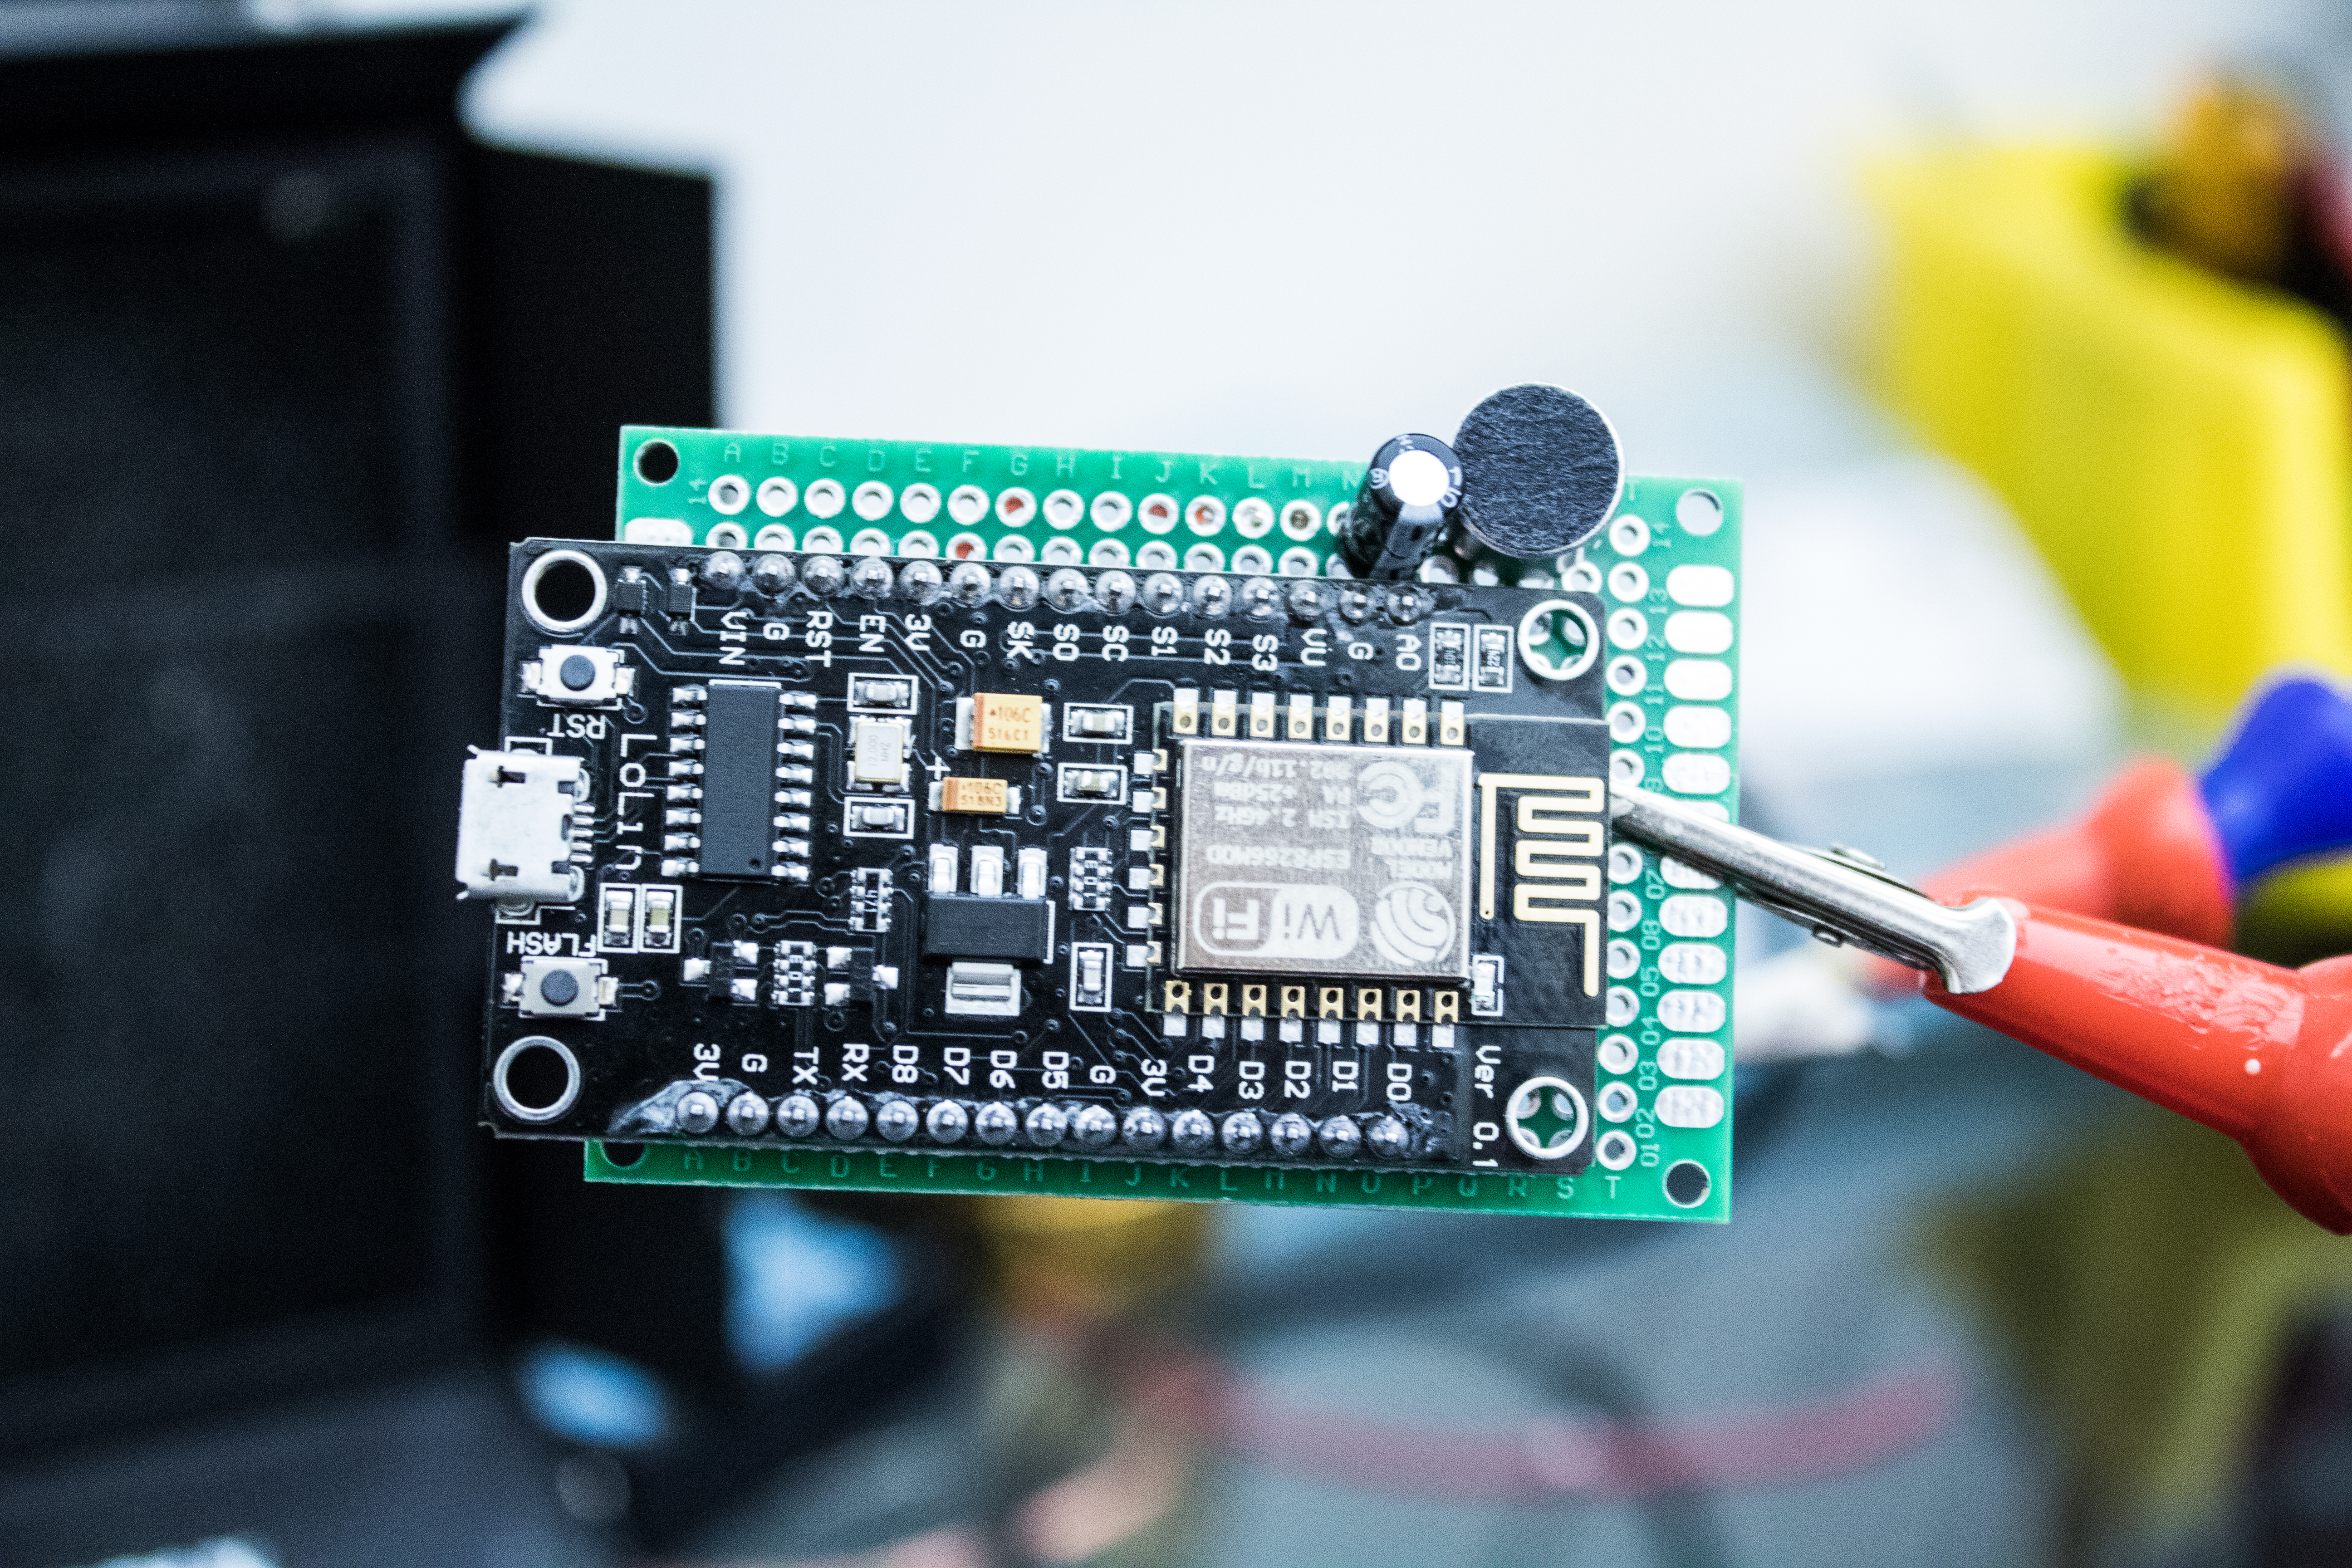
6.S06Scream Canister
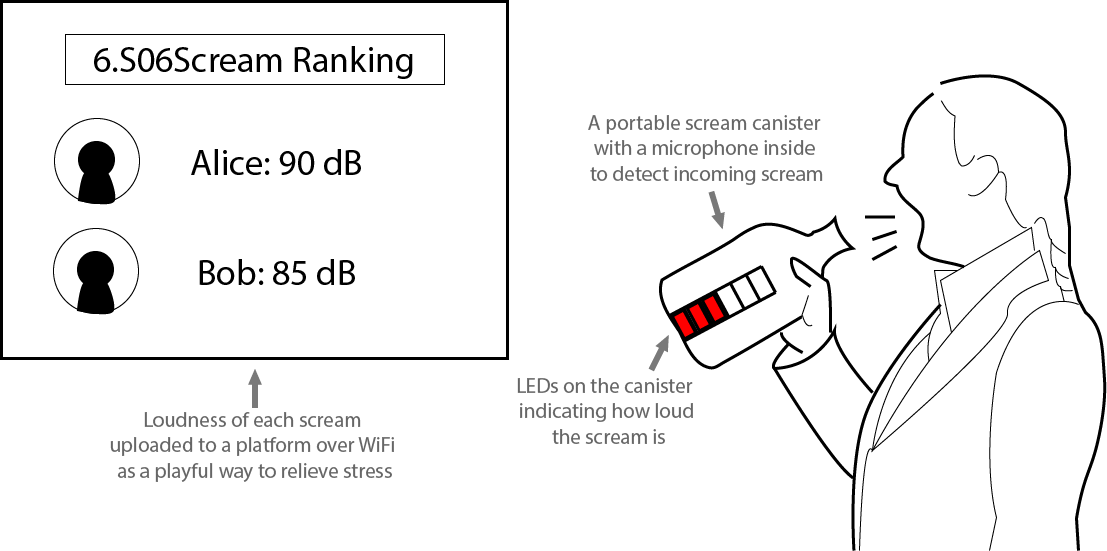
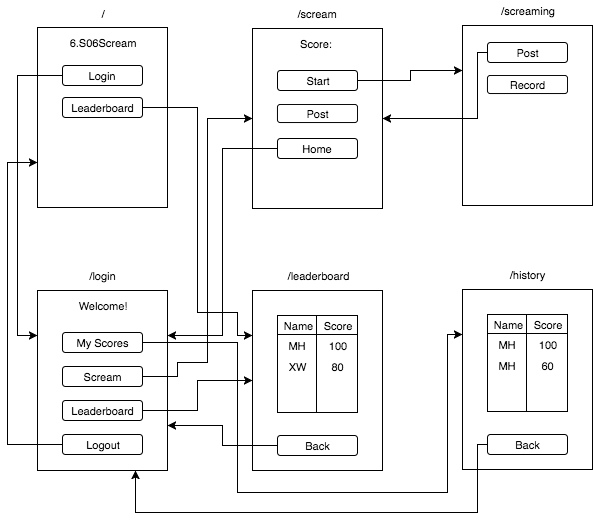
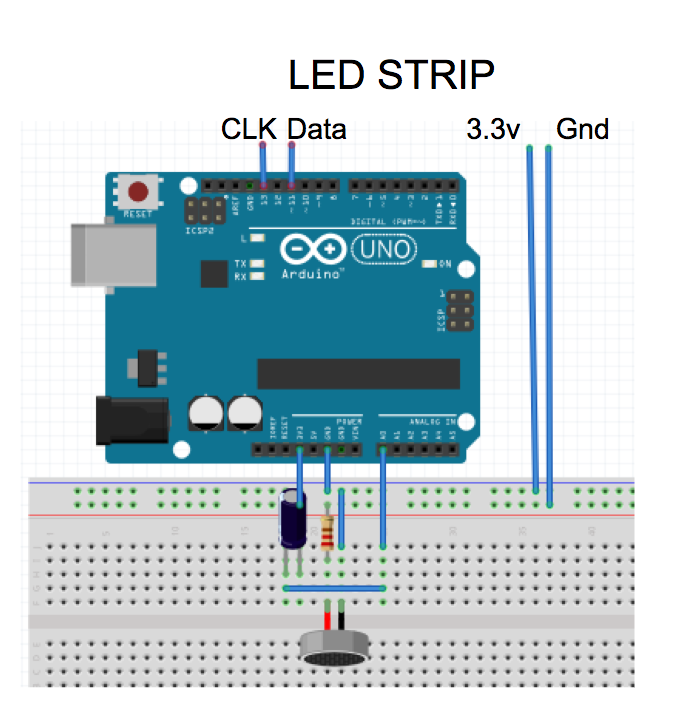
Stressed? Try our 6.S06Scream Canister, which is modeled after those in Disney’s film Monsters, Inc. As shown in the film, our 6.S06Scream Canister will register and record screams. To do so, simply project your voice into the nozzle of the device. When finished, the device will record and upload your scream in the form of dB and duration to a cloud platform and you can compete with your friends to see who's more stressed. It will be a playful way to destress from your daily hustle-and-bustle.
Choreoglove
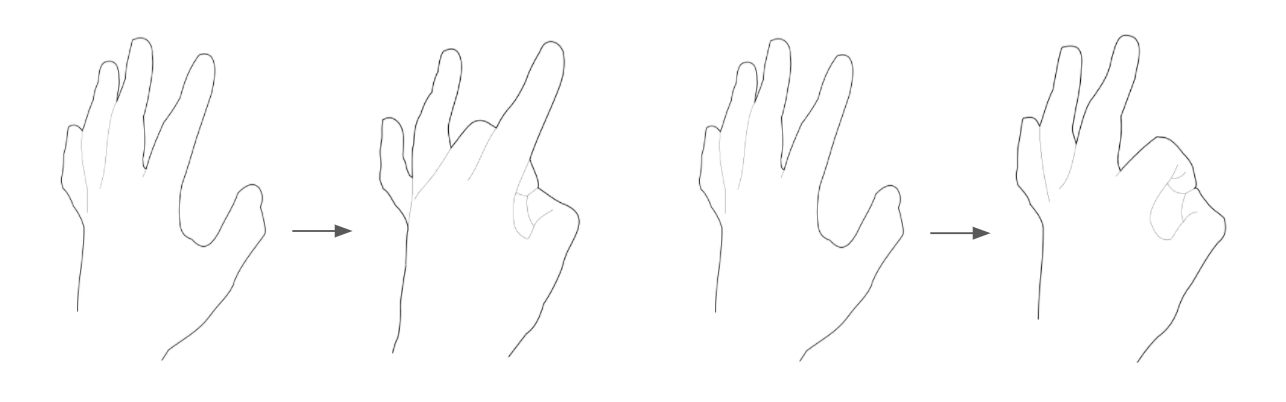
Dance. Learning dance, teaching dance, practicing dance, whatever you're doing with dance, why stop? Instead of walking over to the laptop to pause, rewind, and play the song again, save time by simply using Choreoglove. Choreoglove is a glove that recognizes hand gestures a user makes. These gestures can lead to different Youtube video playbacks such as pausing the video, saving a a timestamp to rewind to it later, and even changing the speed at which the video plays. With the Choreoglove, spend less time manipulating the video and more time dancing!
Smart Stroller
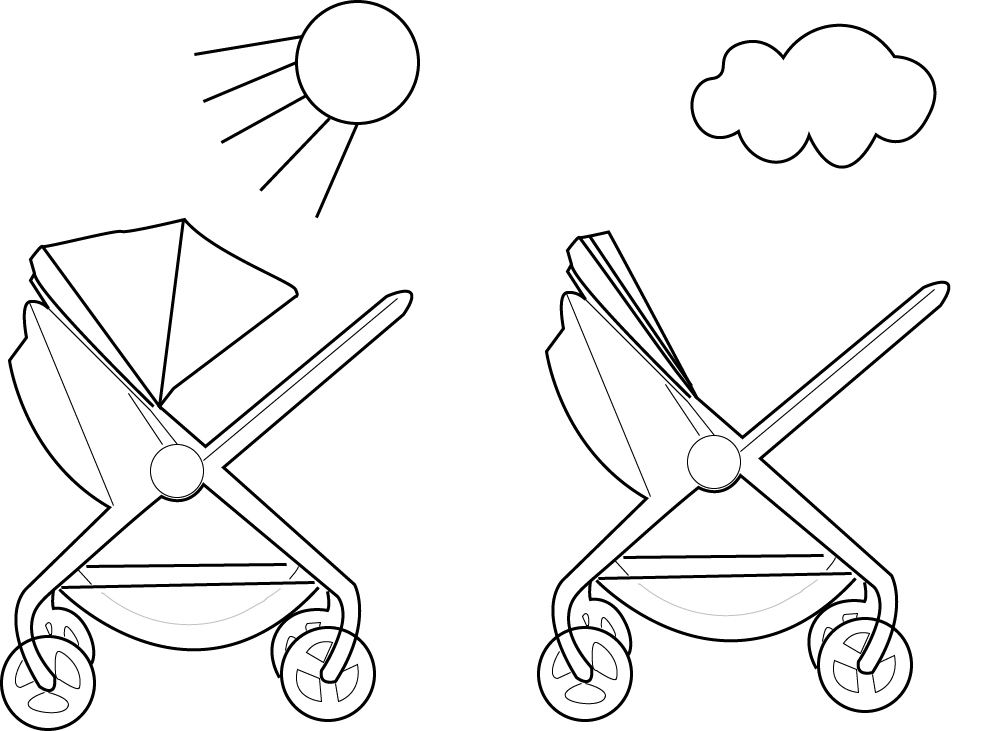
It's hard to have a new-born. When you go out for a walk with your adorable baby, it's already troublesome enough to carry all the things and make sure the baby is content. Having to adjust the stroller cover and seat is just too much work. The smart stroller will detect its surrounding brightness and automatically adjust the cover position. If we have time, we also want to automate changing seat configuration (i.e. chaning between inclined and flat).
Anemoi
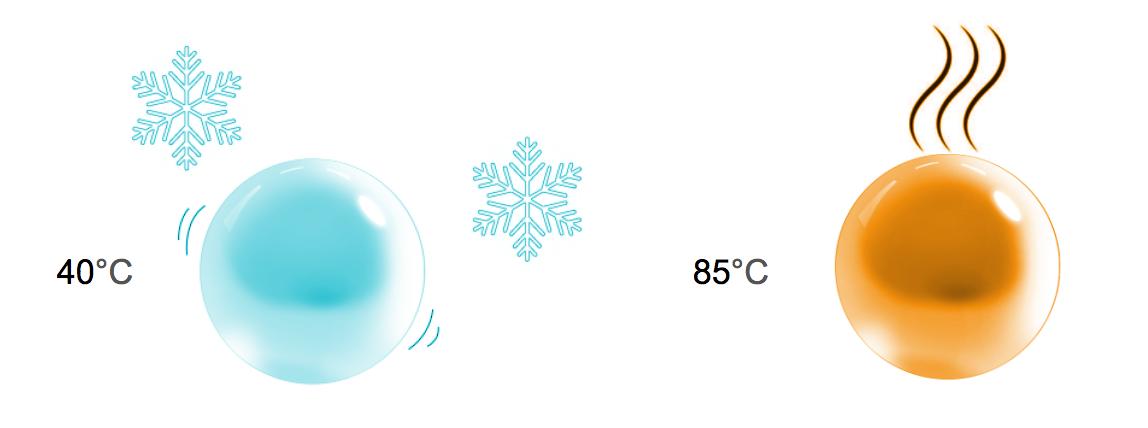
Sometimes, judging the weather can be difficult, even with the temperature scale. Instead of staring at numbers that correlate to how hot or cold it is outside, use Anemoi to simulate the temperature. Anemoi is a device that once a user inputs a certain thresholded degree, will simulate how that temperature feels. With this, it will be easier to pick out outfits without the burdensome process of trying them on, walking outside, and coming back to change. Anemoi will ideally be handheld and be able to simulate everyday temperatures.
Tangible Game
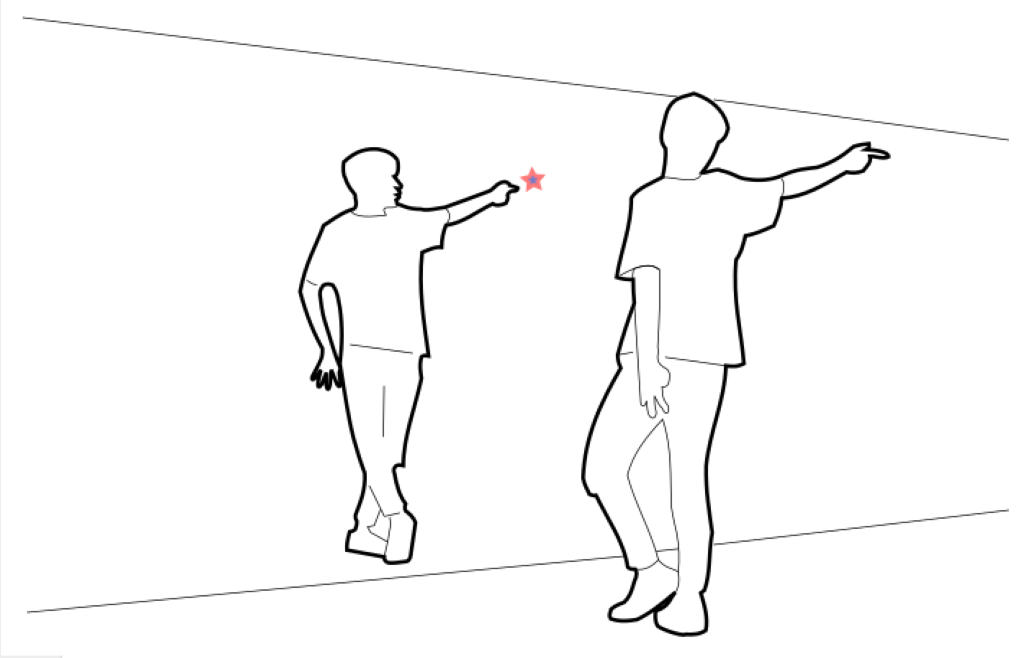
We want to take popular games out of the computer screens and let players interact with the game and with each other with their full body instead of a mouse cursor. Games will be projected onto a wall and players need to interact with projected images, e.g. catch a target or follow some movements. A camera behind the player will use computer vision to determine how accurately the player completes the task. This will encourage players to be more active and allow more interactions among the players.